


Description
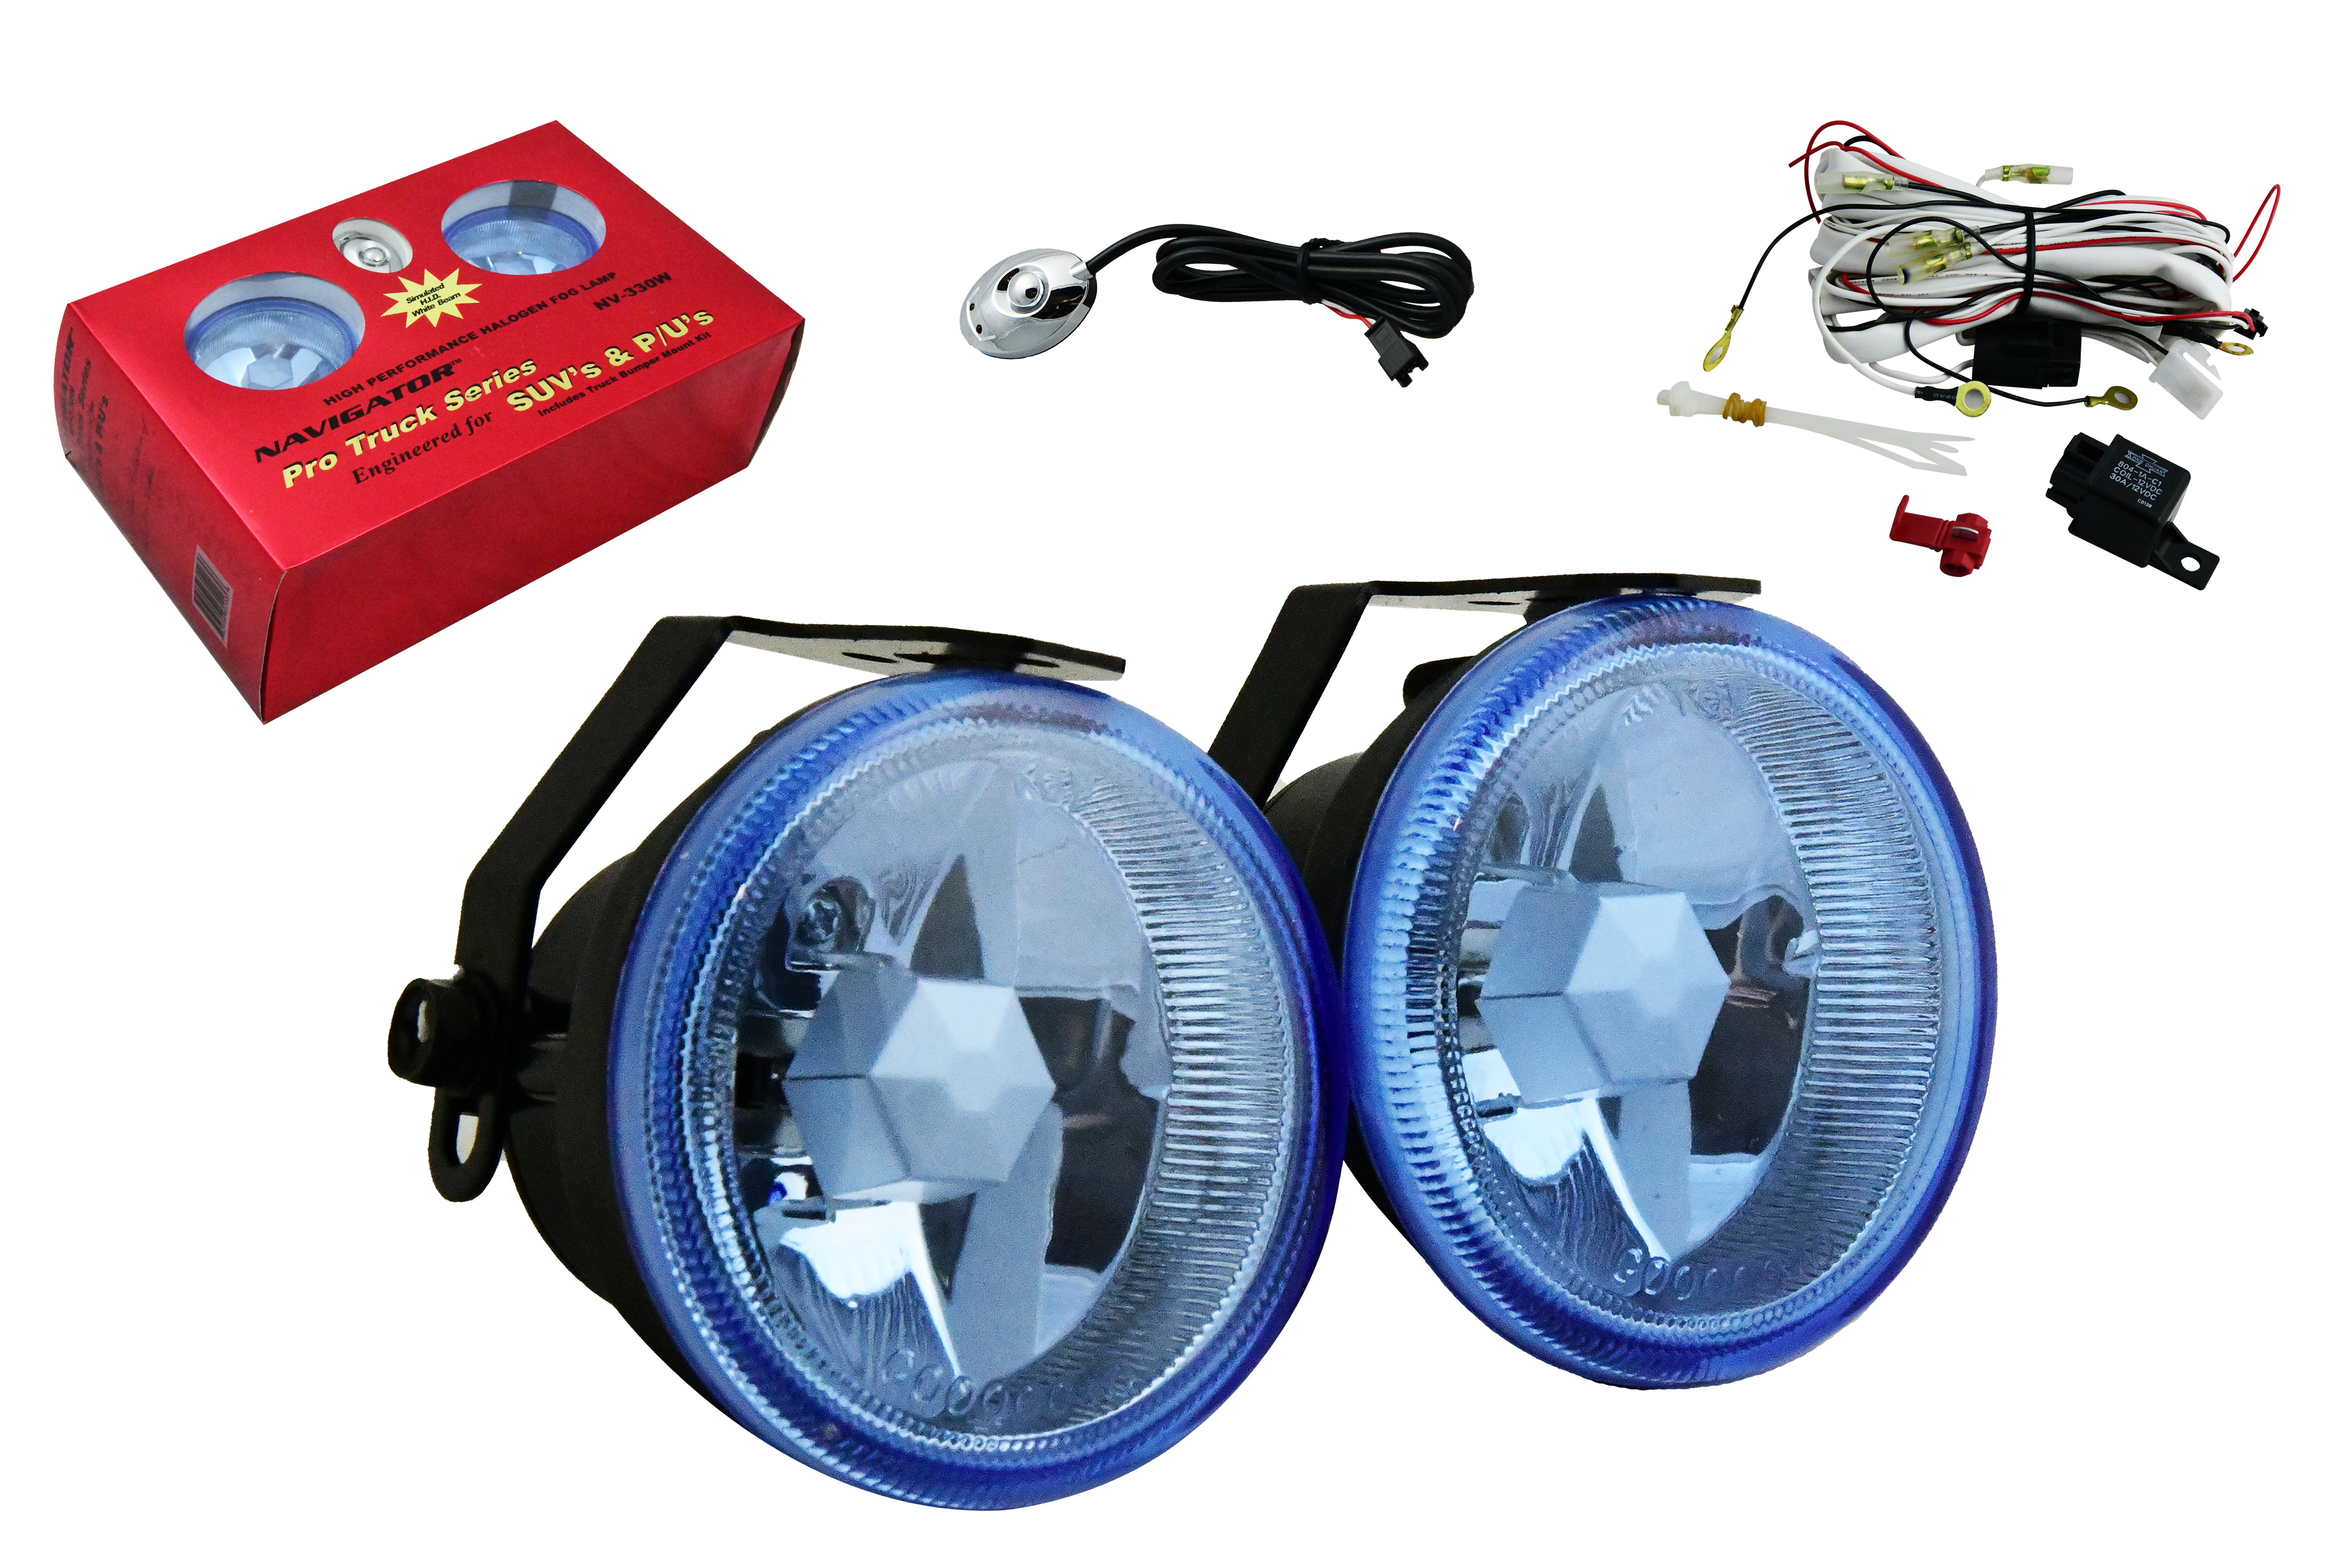
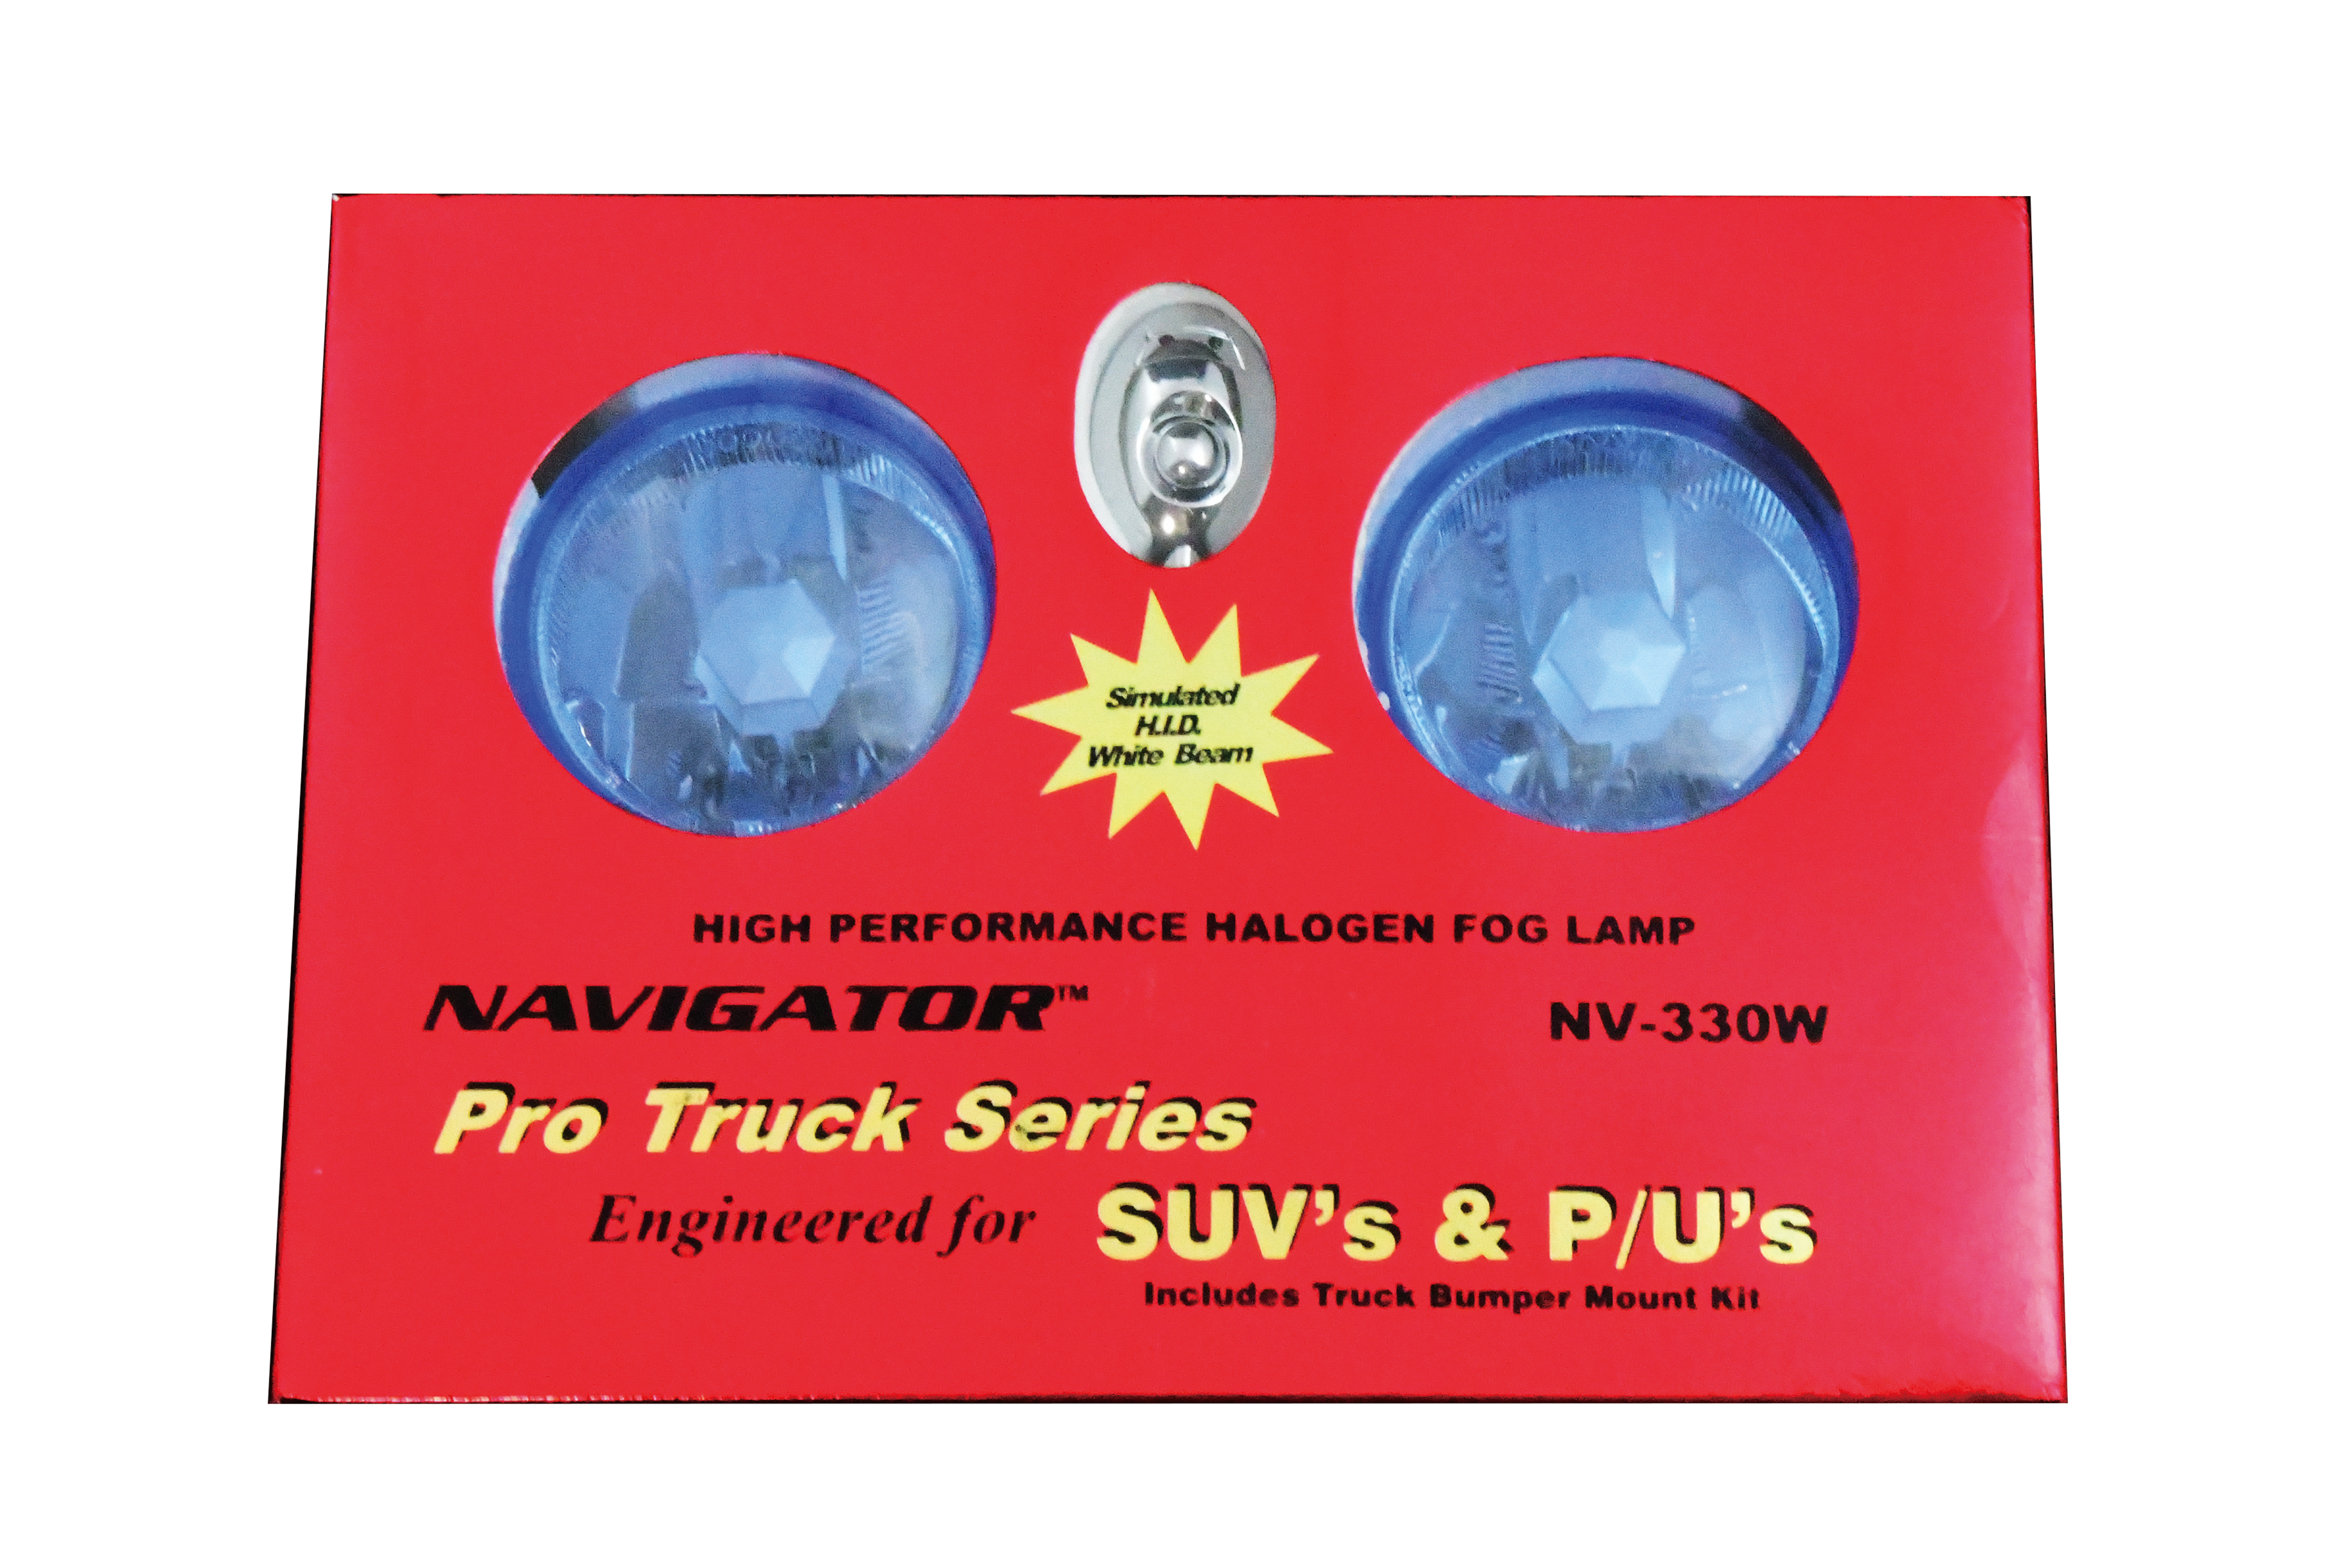
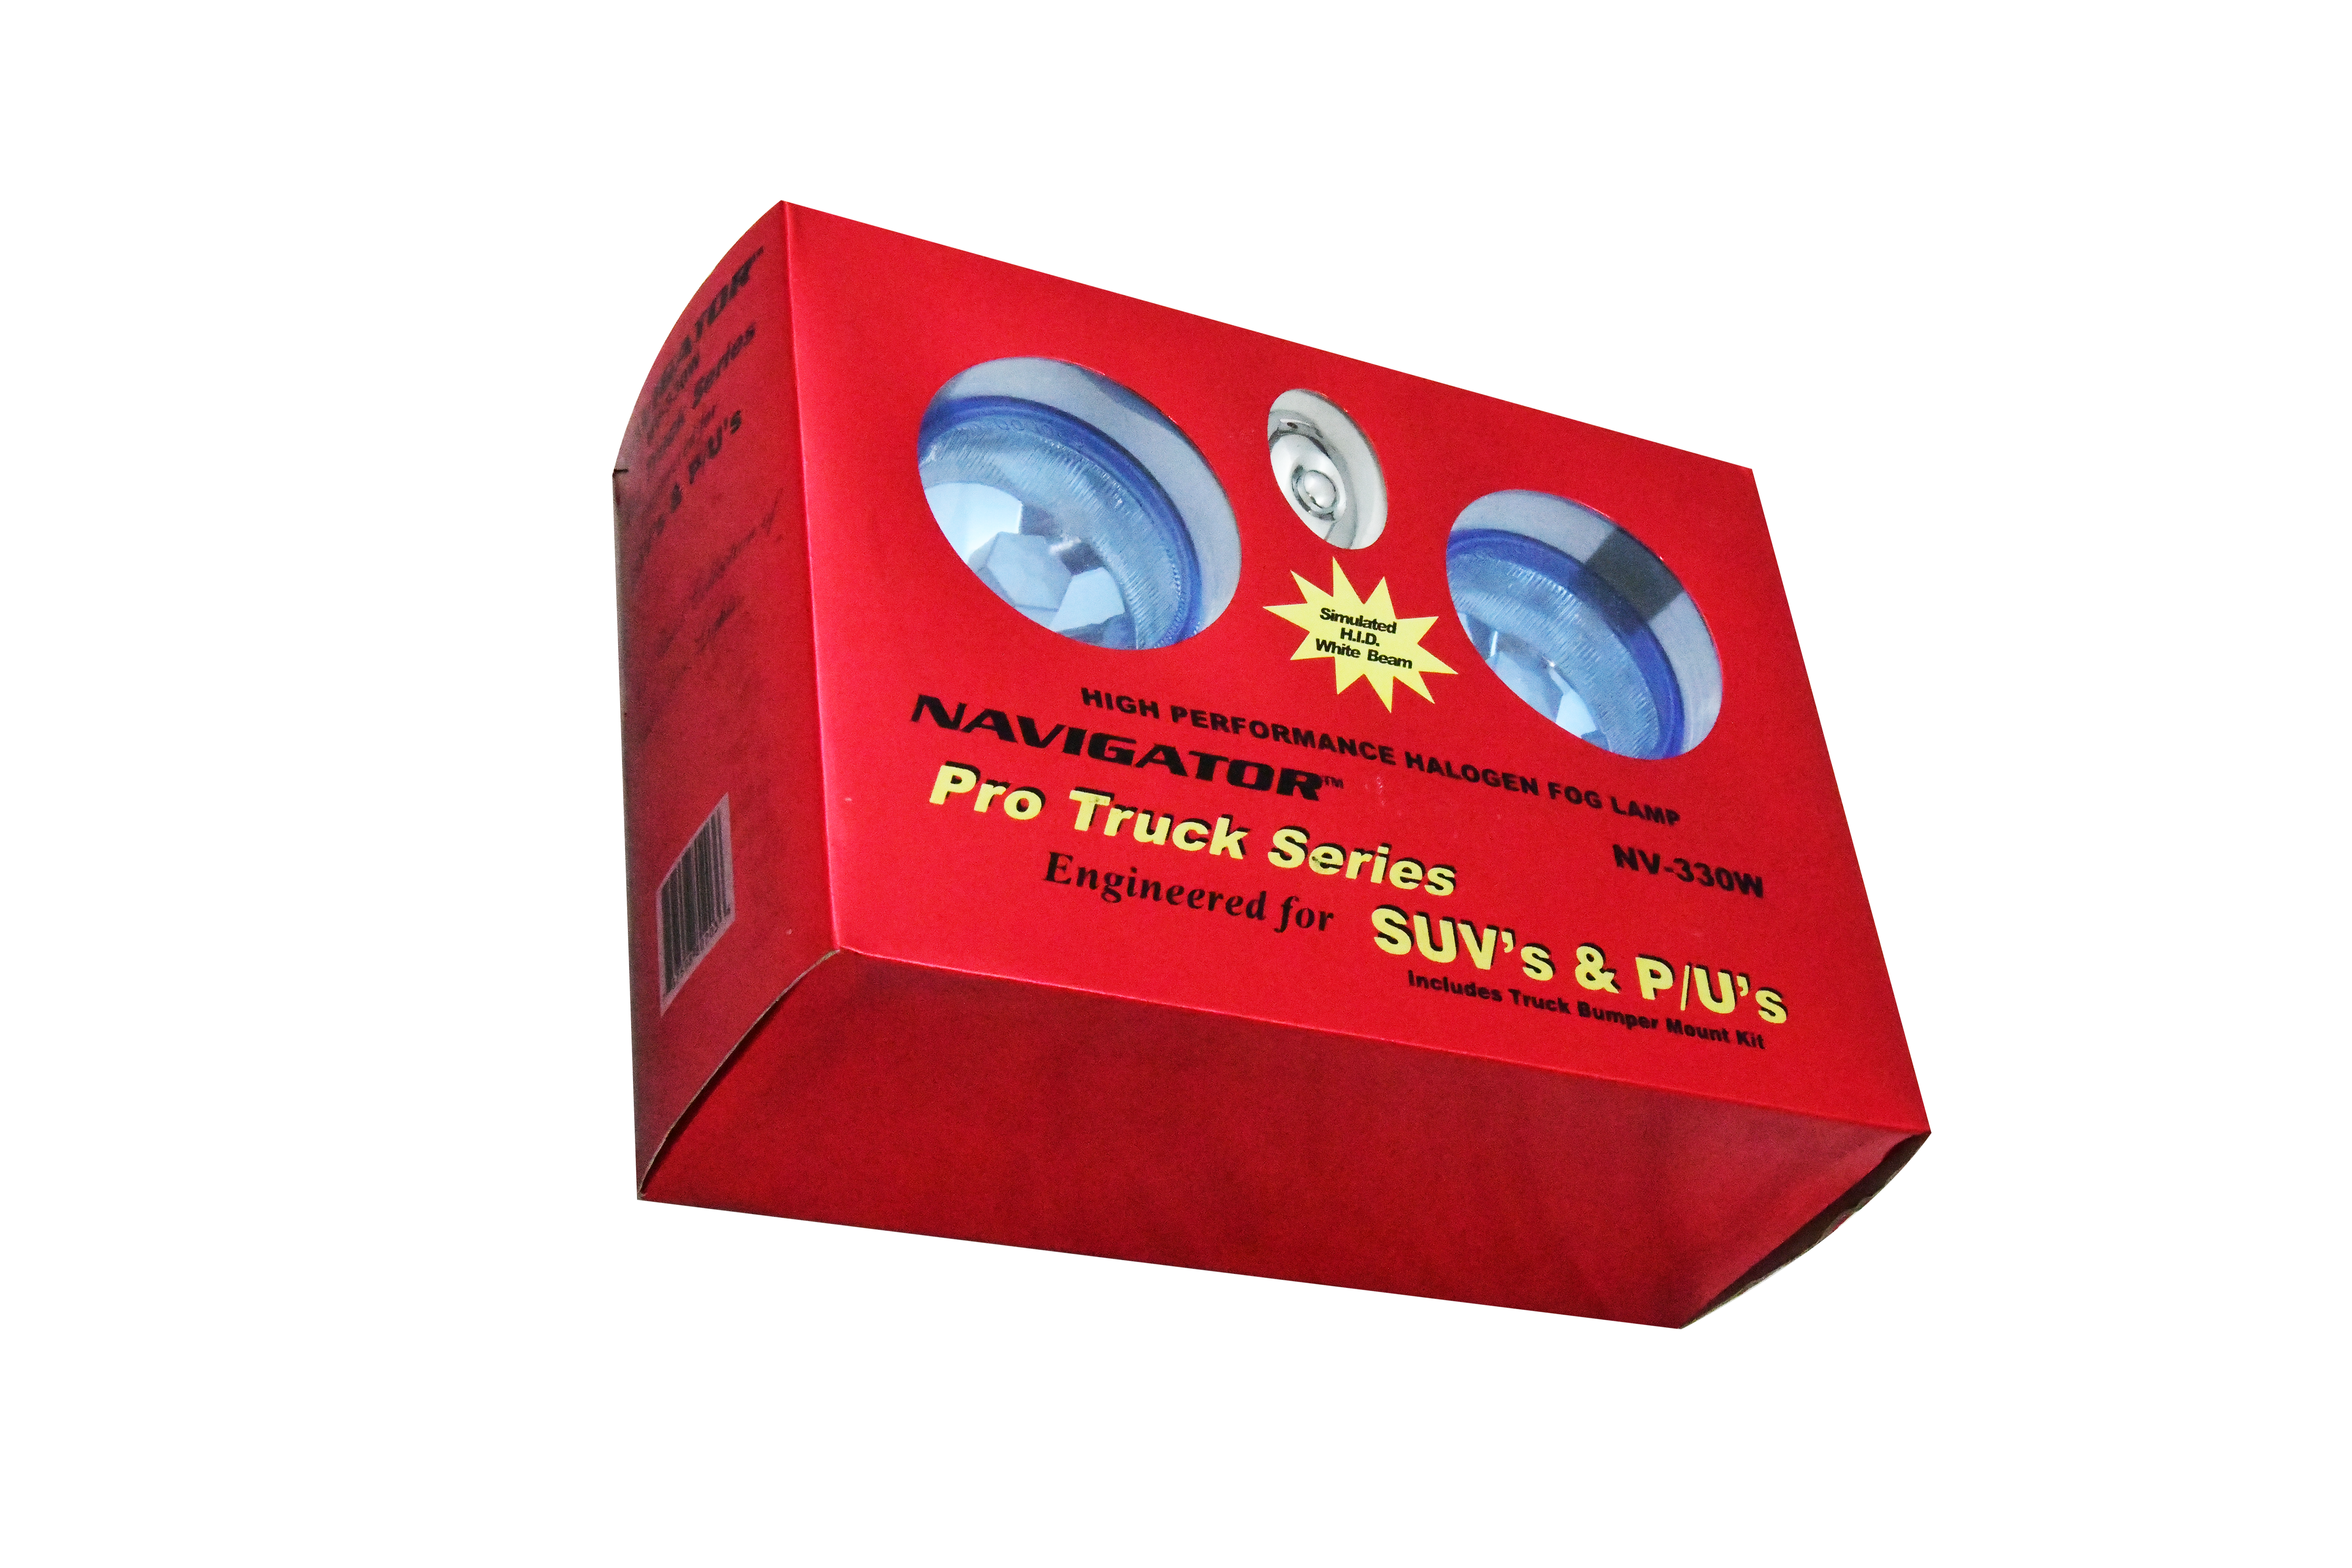
Enhance your driving experience with the Navigator NV-330W Fog Lights Kit. Whether you're navigating through foggy weather or driving in low-light conditions, these fog lights offer superior performance and style. Order now and light up the road with confidence!
This batch of products is a new old stock stored in a company warehouse. The quantity is limited and will not be restocked once it is sold out.
Key Features:
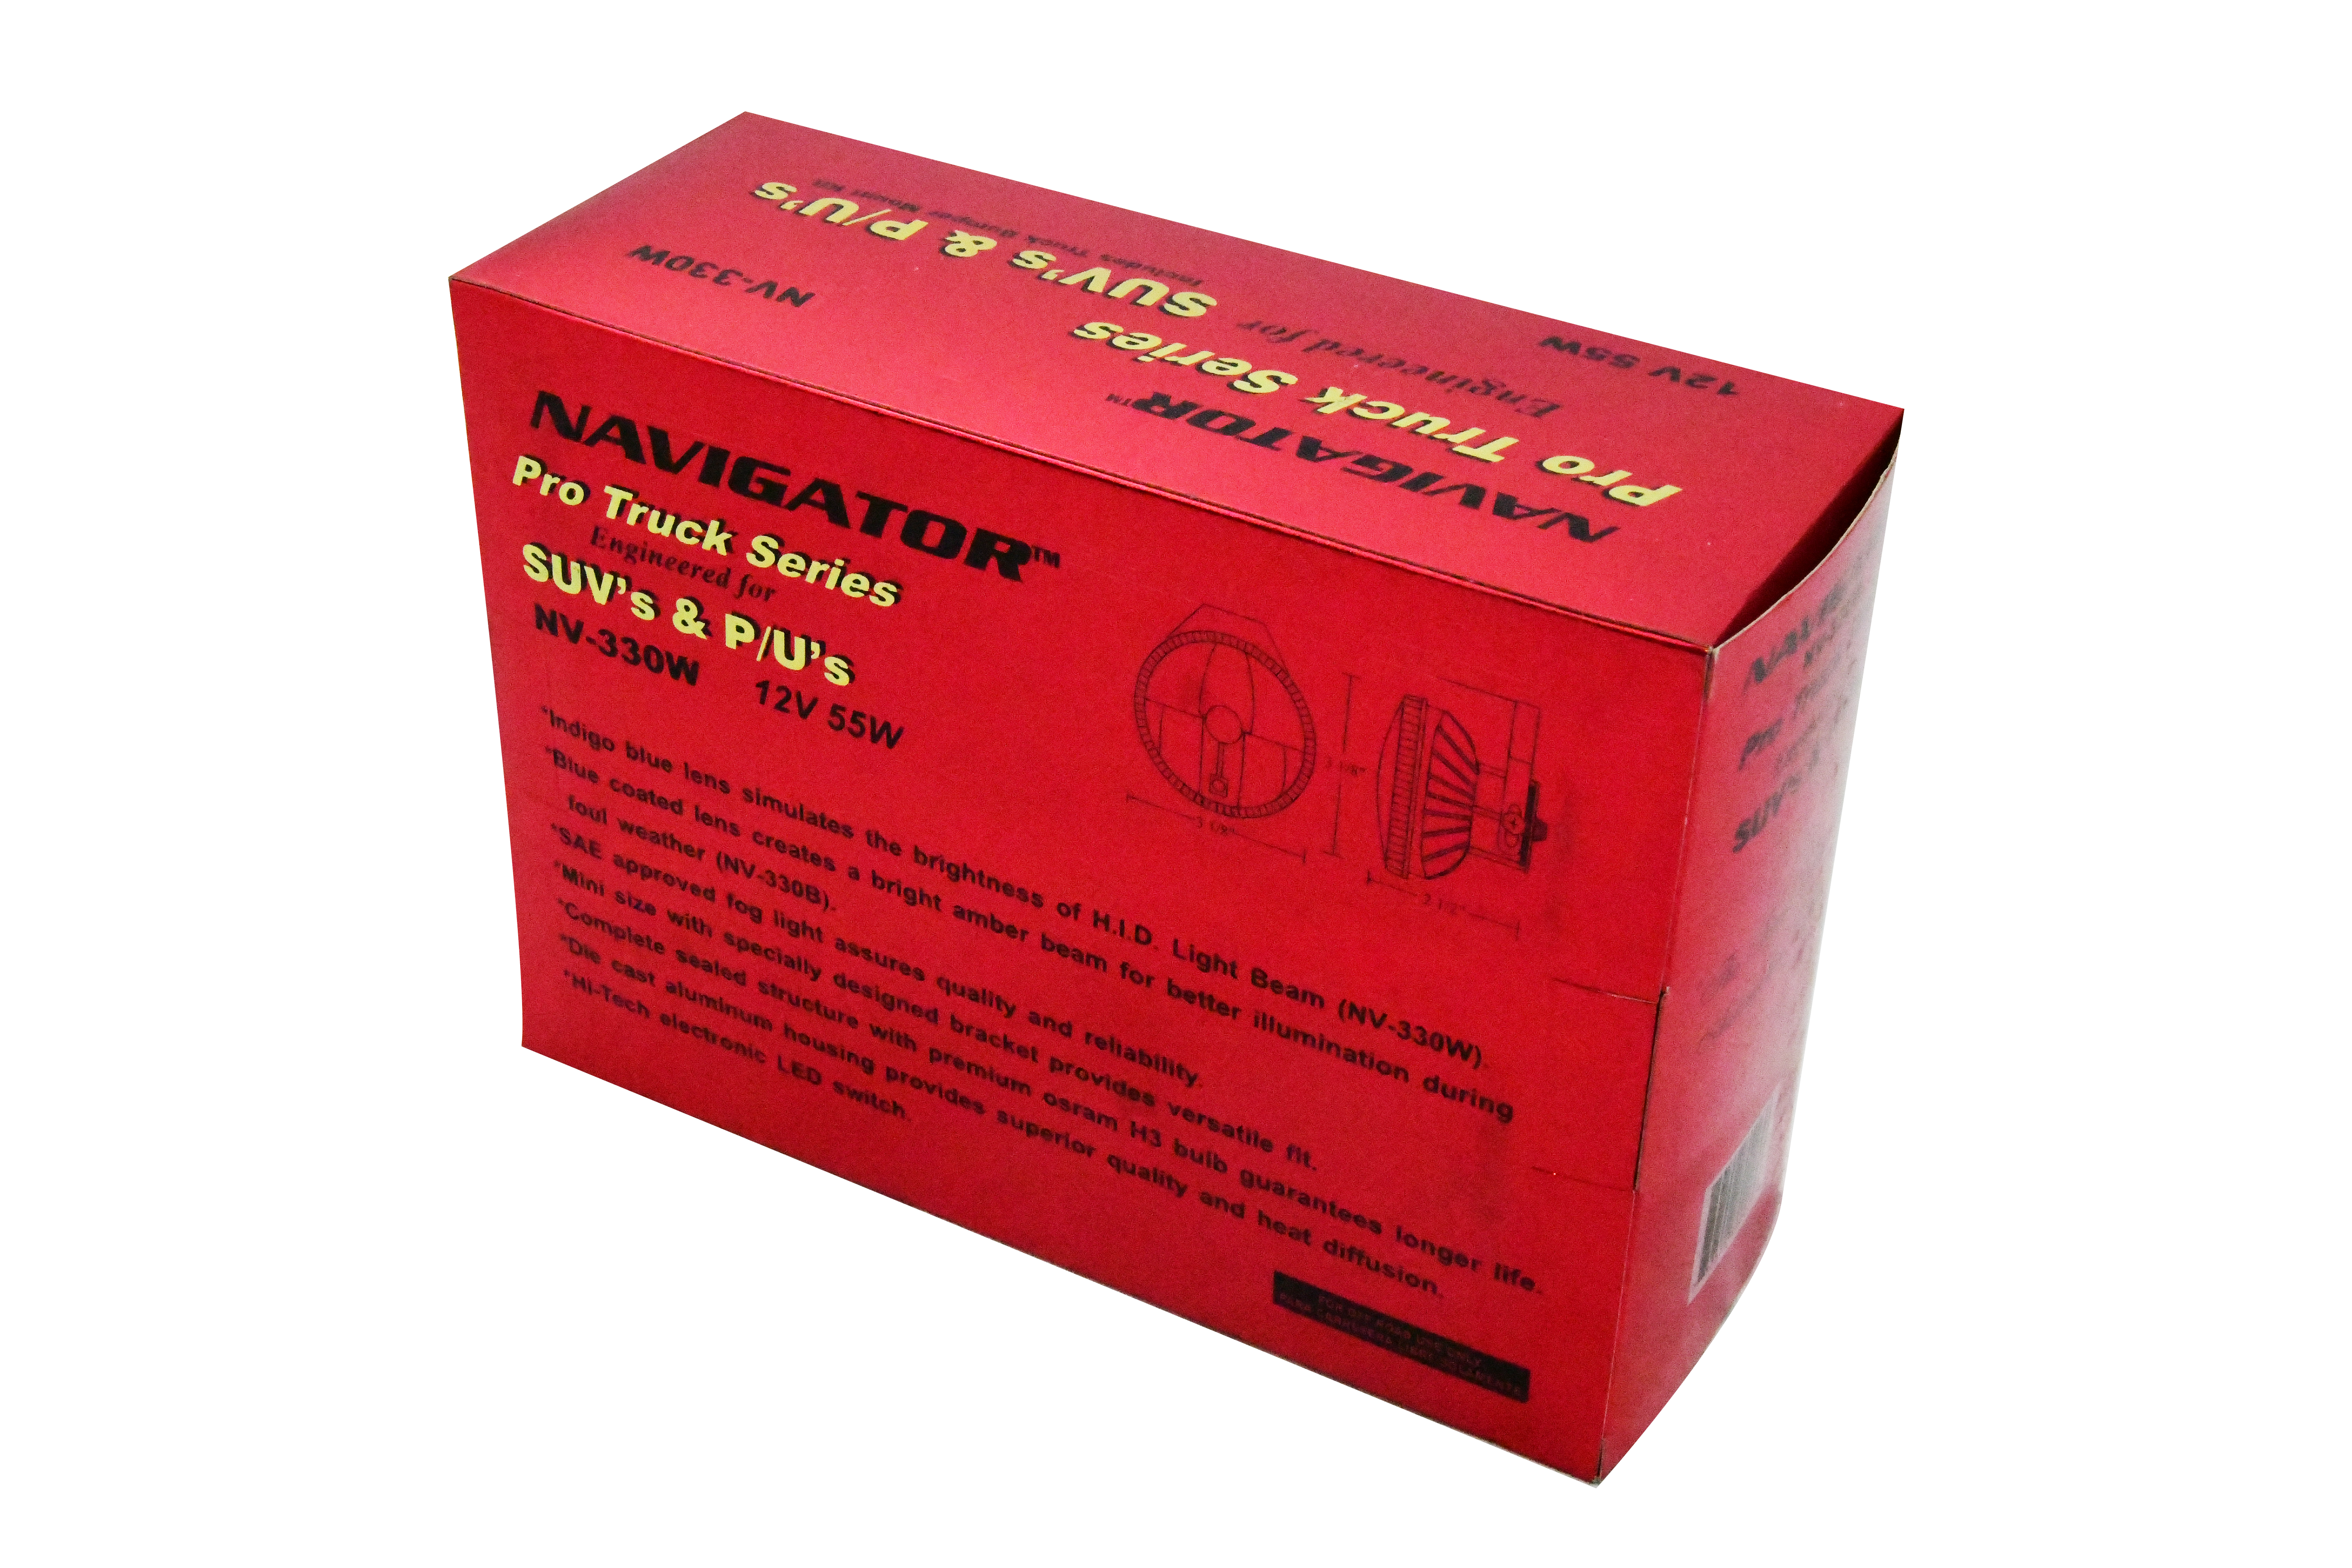
- Premium Build Quality: The Navigator NV-330W fog lights feature a robust die-cast aluminum housing, ensuring lightweight durability and superior heat resistance. The blue-coated glass lens provides a bright, HID-like beam pattern for enhanced visibility.
- Superior Illumination: Equipped with powerful 55W H3 halogen bulbs, these fog lights produce a precise fog beam pattern, thanks to the multi-surface reflector that maximizes candle power output.
- Complete Installation Kit: The kit includes a pre-assembled wiring harness with relay and fuse and mounting brackets. The comprehensive wiring diagram and truck bumper mount kit ensure an easy and secure installation.
- S.A.E. Approved: These fog lights meet S.A.E. standards, guaranteeing reliable performance and safety on the road.
- Universal Fit: Designed for a universal fit, the NV-330W fog lights are compatible with a wide range of truck and SUV models, providing a versatile lighting solution.
Dimensions:
- Diameter: 3-1/8 inches
- Depth: 2-1/2 inches
OEM Style Fog Light Installation Guide for 2005~2020 2nd gen Nissan Frontier:
Installation Steps
Step 1:
Rotate the OEM covers for the fog light holes. Rotate the left cover clockwise and the right cover counterclockwise.
Step 2:
Remove the fog lights from their mounting brackets.
Step 3:
Install the mounting brackets on the bumper, ensuring they hang from the top of the hole.
Step 4:
Install the fog light trims.
Step 5:
Reassemble the fog lights and tighten all components securely.
Purchase OEM fog light trims here:
Wire Placement Steps
Step 1:
Position the wires so the fuse and relay are on the same side as the battery.
Step 2:
Feed the wires for the left fog light through the channel behind the bumper.
Step 3:
Connect the lamps to the wiring harness.
Step 4:
Use a small screwdriver to pull the white/grey wire from the connector.
Step 5:
Store the provided switch, extra wires, and connector (red and black) back in the box.
Electrical Wiring Steps
Step 1:
Disconnect the battery terminals.
Step 2:
Remove the battery.
Step 3:
Remove the cover from the positive terminal by sliding it up and pulling on the sides.
Step 4:
Remove the nut on the left side of the positive terminal at the top.
Step 5:
Install the positive lead of the fog light wiring harness (thicker white wire).
Step 6:
Replace and tighten the nut at the top of the positive lead.
Step 7:
Feed the wire into the wire wrap from the OEM lead.
Step 8:
Drill a guide hole for the supplied screws between the ground wires on the front fender guard.
Step 9:
Install the relay from the wiring harness with the supplied screw into the previously drilled hole.
Step 10:
Gather both ground wires from the wiring harness and place them under the front ground.
Step 11:
Use the double-sided adhesive to attach the fuse holder to the fender guard.
Step 12:
Remove the right parking light.
Step 13:
Remove the electrical tape that holds both parking and signal lights.
Step 14:
Feed the small white wire removed from the connector through the top of the wire cover for the parking light.
Step 15:
Use the provided electrical tap to connect the white/grey wire of the parking light at the base of the wire protector with the small white wire. (Note: You may need to cut the small white wire to fit.)
Step 16:
Replace and reconnect the parking light after securing the electrical tape that separates the wires.
Step 17:
Replace the battery and reconnect the terminals.
Step 18:
Test the fog lights to ensure they work properly.
Step 19:
Adjust the lights as needed.